How the platform works
Before you start, here is the big picture. BlueGenAI takes inputs from the left, processes them through a central AI platform, and produces target solutions and deliverables on the right.
Which path applies to you?
Your starting point depends on what you are building and what you are starting from. Find the path that matches your situation — each graphic shows your specific route through the platform with the relevant elements highlighted.Web App from an Idea
Starting with a plain language description — no files, no prior work needed.
Web App from a Solicitation
Starting with an RFP, task order, or SOW.
Modernize a Legacy System
Starting with an existing system — source code, database schemas, or documentation.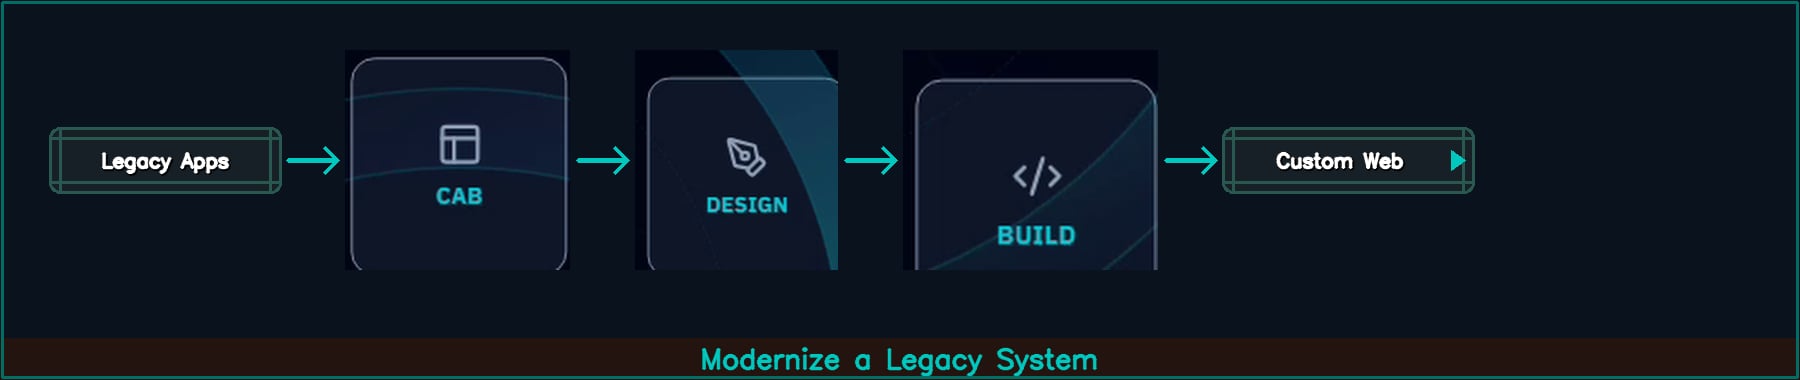
Deploy to a Low-Code Platform
Building for TAP, ServiceNow, Salesforce, or PowerApps.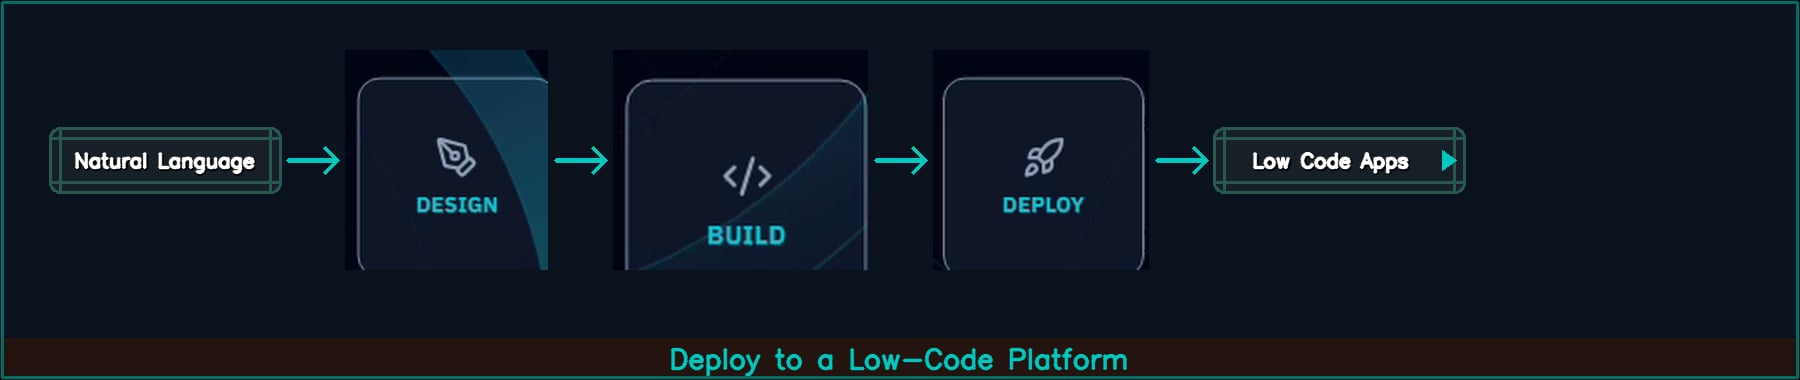
The graphics above are static placeholders. Animated interactive versions — where you can select your path and see it highlighted in real time — are in development.
Step 1: Open or create a project
- Log in at BlueGenAI.ai
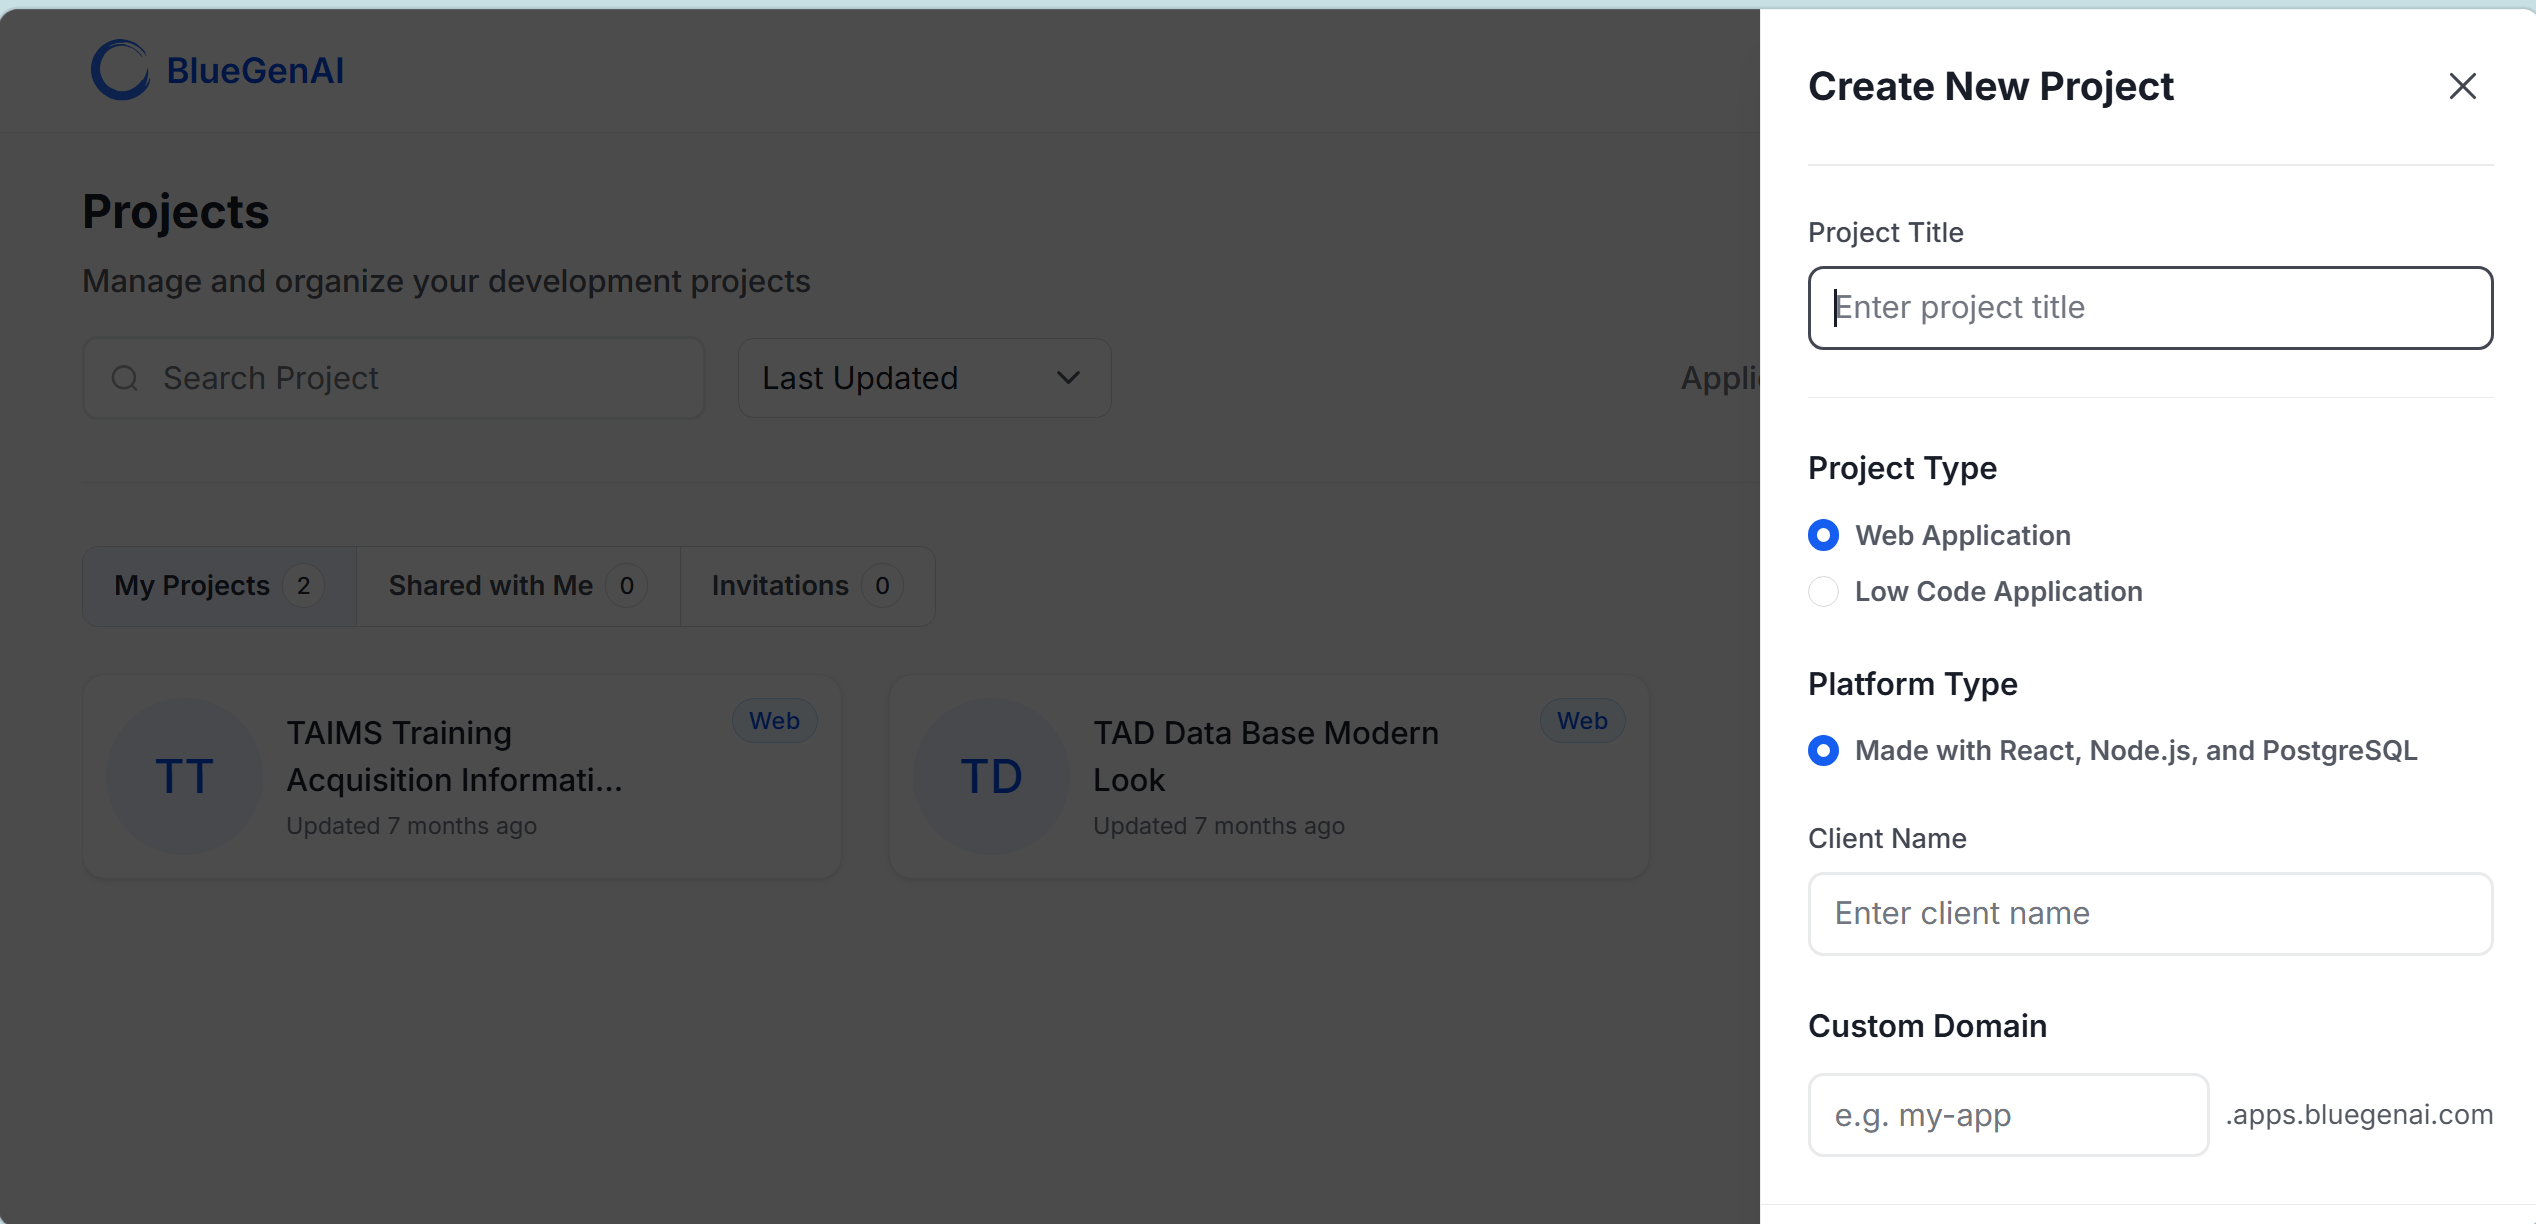
- From the Projects dashboard, click + Create Project
- Enter a Project Title
- Select a Project Type — Web Application or Low Code Application
- Optionally enter a Client Name and Custom Domain
- Click Create — your project opens in the workspace
Step 2: Generate a Draft App in the Prototype tab
The Prototype tab is where you describe what you want to build. The AI agent reads your description and generates a Draft App — a fully functional, interactive version of your application with mock data that you can review, share, and iterate on before committing to a full build.- Click the Prototype tab in the workspace
- Click + in the Requirement Folders panel to create your first folder — name it by feature area (for example: Intake Form)
- In the chat input, type a prompt describing what you want to build
- What the application needs to do
- Who will use it
- Any constraints (accessibility, compliance, data sensitivity)
- Click the Send button (blue circle)
- The agent generates your Draft App and displays it in the chat
📸 Screenshot coming soon — This section will include a screenshot showing a Draft App result in the Prototype tab chat workspace. File to add:
1-11-draft-app.pngStep 3: Review and refine your Draft App
Open the Draft App from the chat and review it against your requirements. Continue prompting to refine, extend, or adjust:- “Simplify the language and reduce the number of required fields”
- “Add a document upload section”
- “Update the layout to use a two-column form”
Step 4: Build your application
When you are satisfied with the Draft App:- Click the Build tab in the workspace
- In the chat input, describe what you want to build
- Use the 📎 attachment icon to attach your Draft App files as references
- Click Send
- The Build agent generates your full-stack application
- When the build completes, your live application URL appears in the chat
📸 Screenshot coming soon — This section will include a screenshot showing a completed build with the live application URL. File to add:
1-11-build-complete.pngStep 5: Review and continue
- Click the live URL to open your deployed application in a browser
- Test it against your original requirements
- Return to the Build tab and continue prompting to fix issues or add features
- Each iteration builds on the existing application — you are not starting over
📸 Screenshot coming soon — This section will include a screenshot of a deployed application open in a browser. File to add:
1-11-deployed-application.pngReady to go deeper?
You have completed the full platform journey. From here, each tab covers one phase of the Government Project Lifecycle in full professional detail — the full range of options, decision points, and guidance for your specific role and project type.Building Web Apps
The complete guide to full-stack web application development — from Pre-RFP Solutioning through Deployment.
Building on Low-Code
The complete guide to deploying on TAP, ServiceNow, Salesforce, or PowerApps.
Where to go next
Who is it for?
Find the path through the platform that matches your role.
Prompting Best Practices
Write more effective prompts and get better results with fewer iterations.
Collaboration & Sharing
Invite teammates and share your project with stakeholders.