
Creating a Ticket
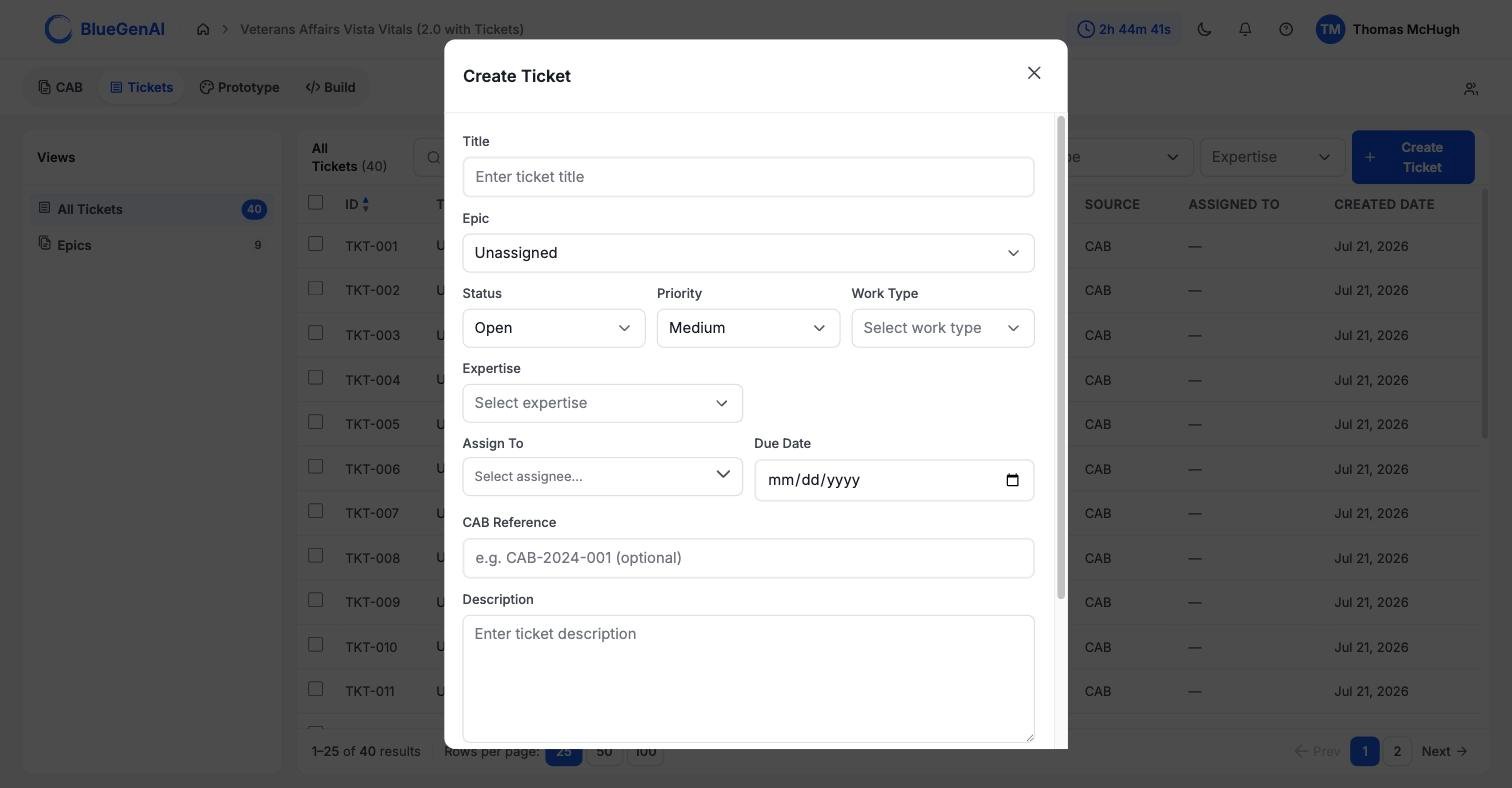
The Create Ticket form. Status, Priority, and Epic arrive pre-filled; everything else is blank.
1
Select Create Ticket
The control sits at the right of the filter bar on the All Tickets view.
2
Fill in the form
Only Title is required. Three fields arrive with defaults: Status as
Open, Priority as Medium, and Epic as Unassigned.Work Type, Expertise, Assign To, Due Date, CAB Reference, Description, and Note are all optional, and can be filled in later.3
Save it
The new Ticket takes the next number in sequence and appears in the list with a Source of
Manual.Editing
Open a Ticket from the list to edit it. Every field a Ticket carries can be changed, including on generated ones. Two shortcuts are worth knowing. Status is editable from the list itself through the dropdown in each row, without opening the Ticket. And moving a Ticket between Epics is done from the Epics view rather than here.Editing the Note on a Ticket does not change your blueprint. The field is carried over from the blueprint when the Ticket is generated, and from that point the two are independent.
Work Type Accepts Values Outside the List
Work Type defaults to Open. The dropdown offers a fixed set, but the field accepts anything, because generated Tickets can carry categories the list does not include. This is why filtering by Work Type can return nothing on a project whose Tickets were generated. See What are Tickets.Deleting
Selecting a row checkbox replaces the filter bar with a selection toolbar showing the count, a Clear link, and a delete control naming how many are selected.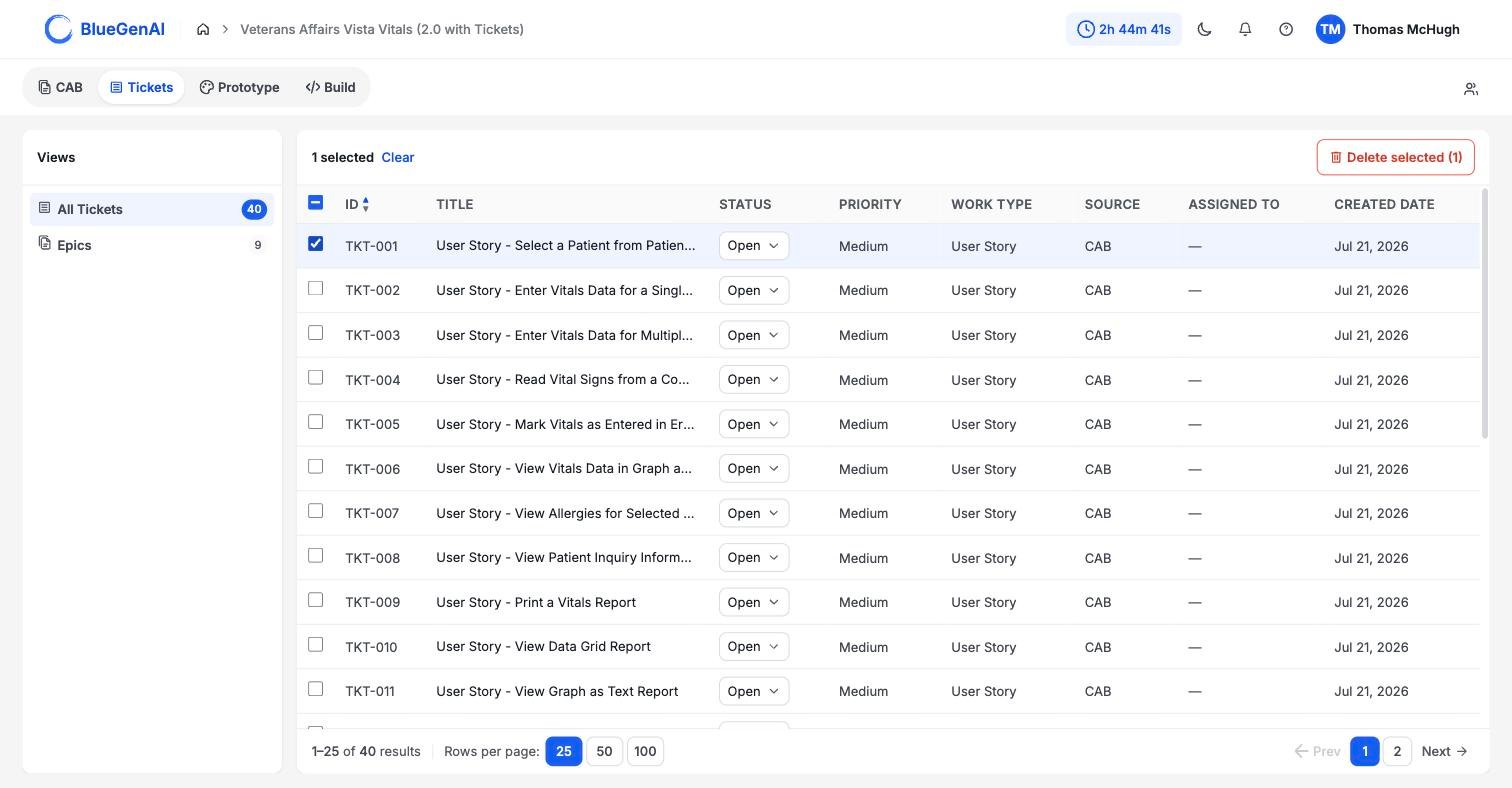
Selecting any row swaps the filter bar for the selection toolbar. Filters are not reachable while a selection is active.
Your Next Step
Once you have the Tickets you want, the next question is what order to build them in.Sequence your work into waves
How Epics group Tickets and set the build order.
Hand a Ticket to the build agent
Referencing a Ticket in a Build conversation.